Homeless Turtle Sanctuary

A journey about renovation, renewal and making the most of what you have.


Leave a comment

Tiling the countertop

IMG_1575

So it’s been a awhile. I’ve been keeping busy.

Our new business is off to a strong start. We are loving life at the Homeless Turtle Sanctuary.

There is beauty everywhere we look. The woods and the lake are perfect. We see wild animals all the time. We hear birds singing and coyotes yelping. We love our work remodeling and repairing our neighbors homes.

We are making good friends and enjoying much more time with family.

So this week, I decided to tackle a job that has been waiting since we built the house. There wasn’t enough butcher block to cover the counter between the refrigerator and the stove. So I decided that I would tile it. We’ve been doing quite a few tile jobs and now I have enough scraps to make the design I settled on.

I spent a few days cutting the pieces to the design. Yesterday I cemented them in place. Today I am grouting. I know I should have taken photos of each step, but I am out of practice.

IMG_1573

The grout is still wet. but I am very excited to have gotten this job going. Hopefully you can tell what the pattern is…a turtle shell.


1 Comment

Living in the house and finishing details

We moved into the house a couple weeks ago. So, with the month off in December it took us 4 months to build this house.

Now between jobs to earn money, we are finishing up details.

We made a light for over the kitchen sink. We used an old minnow bucket, a stringer and some fish that I cut out of stained glass.

011 010 013


We also built the custom ladder to the loft.

003

it stores to one side when we aren’t using it.

008 002 001

And installed the screen door.

004

We still need a few nice days to pant the outside.


Then painted the cabinets. Okay, don’t look inside, chaos reigns inside, still need to build shelves and doors.

006

The bathroom vanity is Anjou Pear, by Sherwin Williams.

005

The kitchen cabinets are Pewter Tankard by Sherwin Williams.

We are feeling pretty comfortable in the house. It is very snug. We haven’t needed the wood stove until the past two days and only very small fires then. We are happy.


Leave a comment

Kitchen Cabinets

We are building our own kitchen cabinets. There aren’t a lot, just three. We have a limited budget and we also want then to last.
In our budget range the cabinets were cheaply made and clearly wouldn’t last long. They had components made of mdf or particle board. We wanted all wood.
Thankfully Larry enjoys working with wood.

2x4 frame for cabinet

2×4 frame for cabinet

We used some of the leftover birch plywood from the loft to make the floors. The frames are made of 2x4s and 2x2s. The trim is made of pine 1 bys.

sink base

sink base

They are definitely a little over built. As Larry assured me, we could rebuild engines on these counters.
We decided to go with butcher block counter tops. We bought 8 feet of oak butcher block from lumber liquidators for less than $200.00.

Butcher block

Butcher block


We are sealing the butcher block with a mixture of bees wax and mineral oil. The seal needs to be food safe and water proof.

sink in the sink base

sink in the sink base

we've started sealing the butcher block

we’ve started sealing the butcher block

We came up a few inches short of being able to use butcher block on all three cabinets, so we will tile the top of the middle one eventually.

the smaller cabinets

the smaller cabinets

The cabinets are going to be painted.

It has been very satisfying to build them. They have not cost much at all. They are sturdy and they look really nice. Larry spent about two days building them. I have lived in older homes with all wood cabinets obviously built right on location. We are very pleased that we are able to have such nice cabinets.


Leave a comment

Bathroom Tile and stone work

We are using quite a bit of tile in the house. Eventually, all the floors will be tiled. Being close to the lake and the woods makes it too hard keep floors clean, so we will tile to make them easier to deal with.

In the bathroom, the tub walls are tiled. The floor is tiled. and we are tiling the wall behind the toilet.

And I have decided to use second hand tile. I have some tile that I salvaged from a job we did. I bought a selection of tile from Restore. It’s all different, but I think I can make it work.

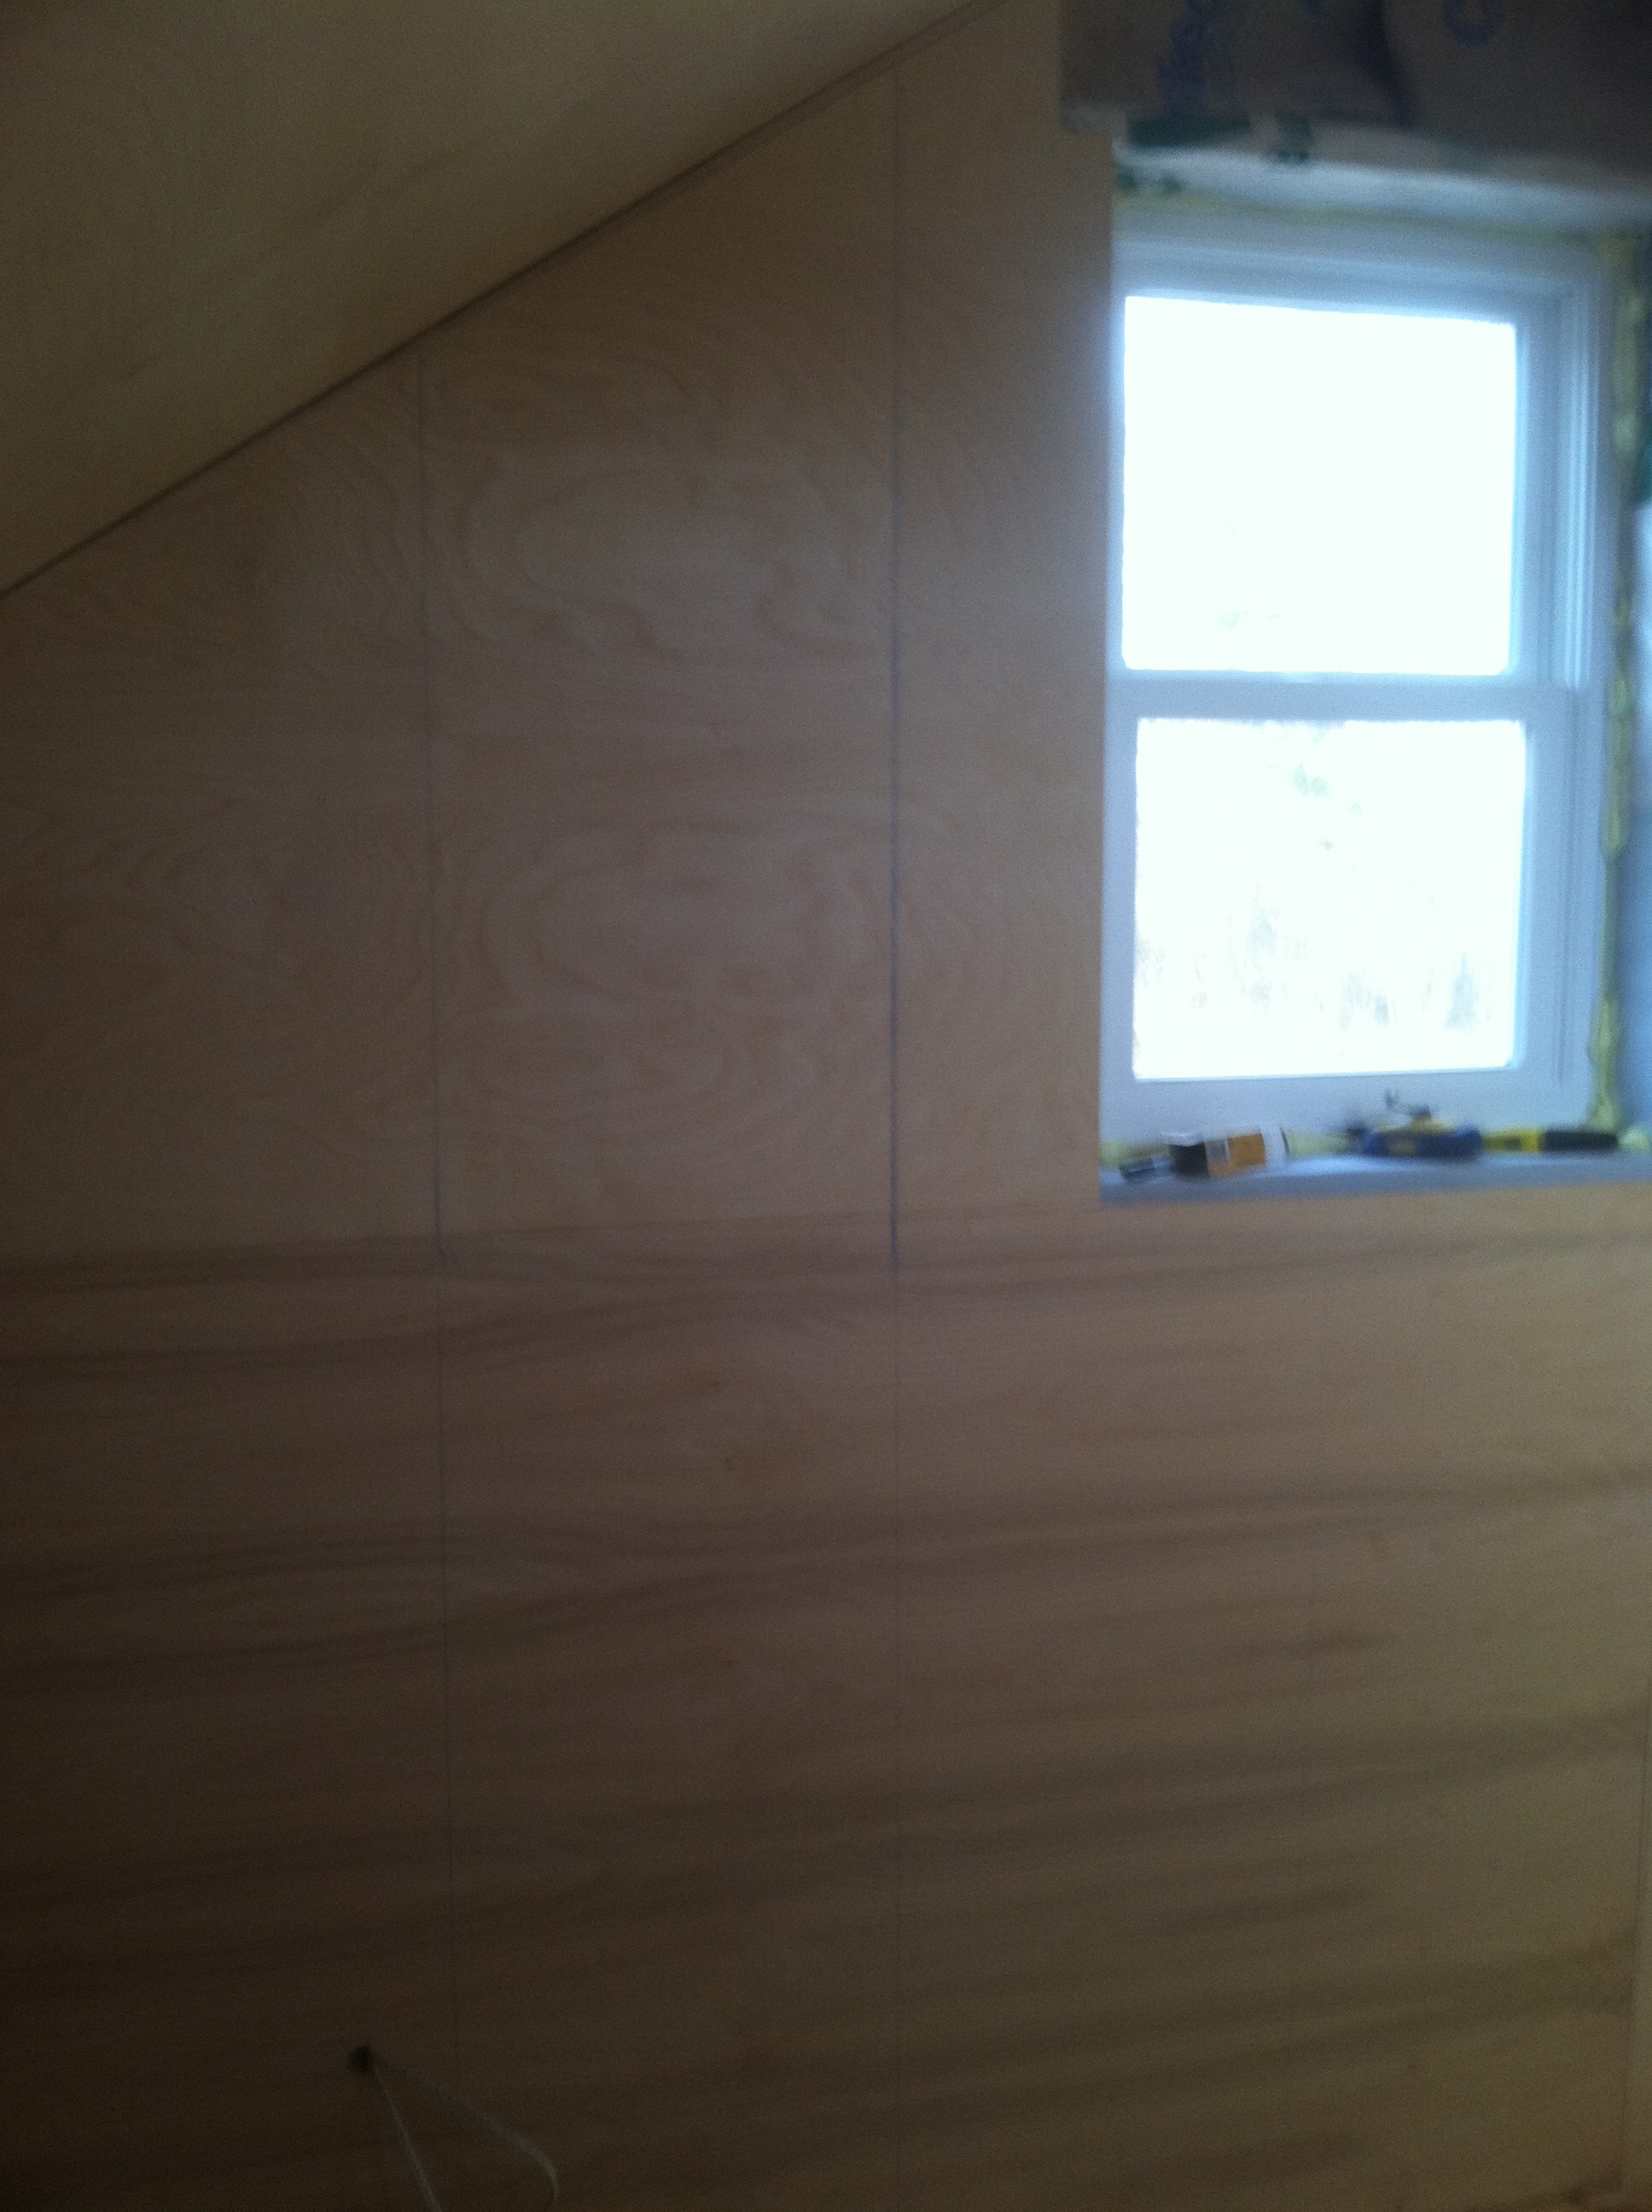
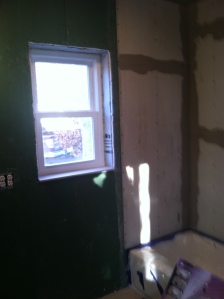
I also bought a granite scrap at Restore and I am planning to have the window sills in the kitchen and bathroom be stone. I like to use window sills for plants and wood just doesn’t hold up well.

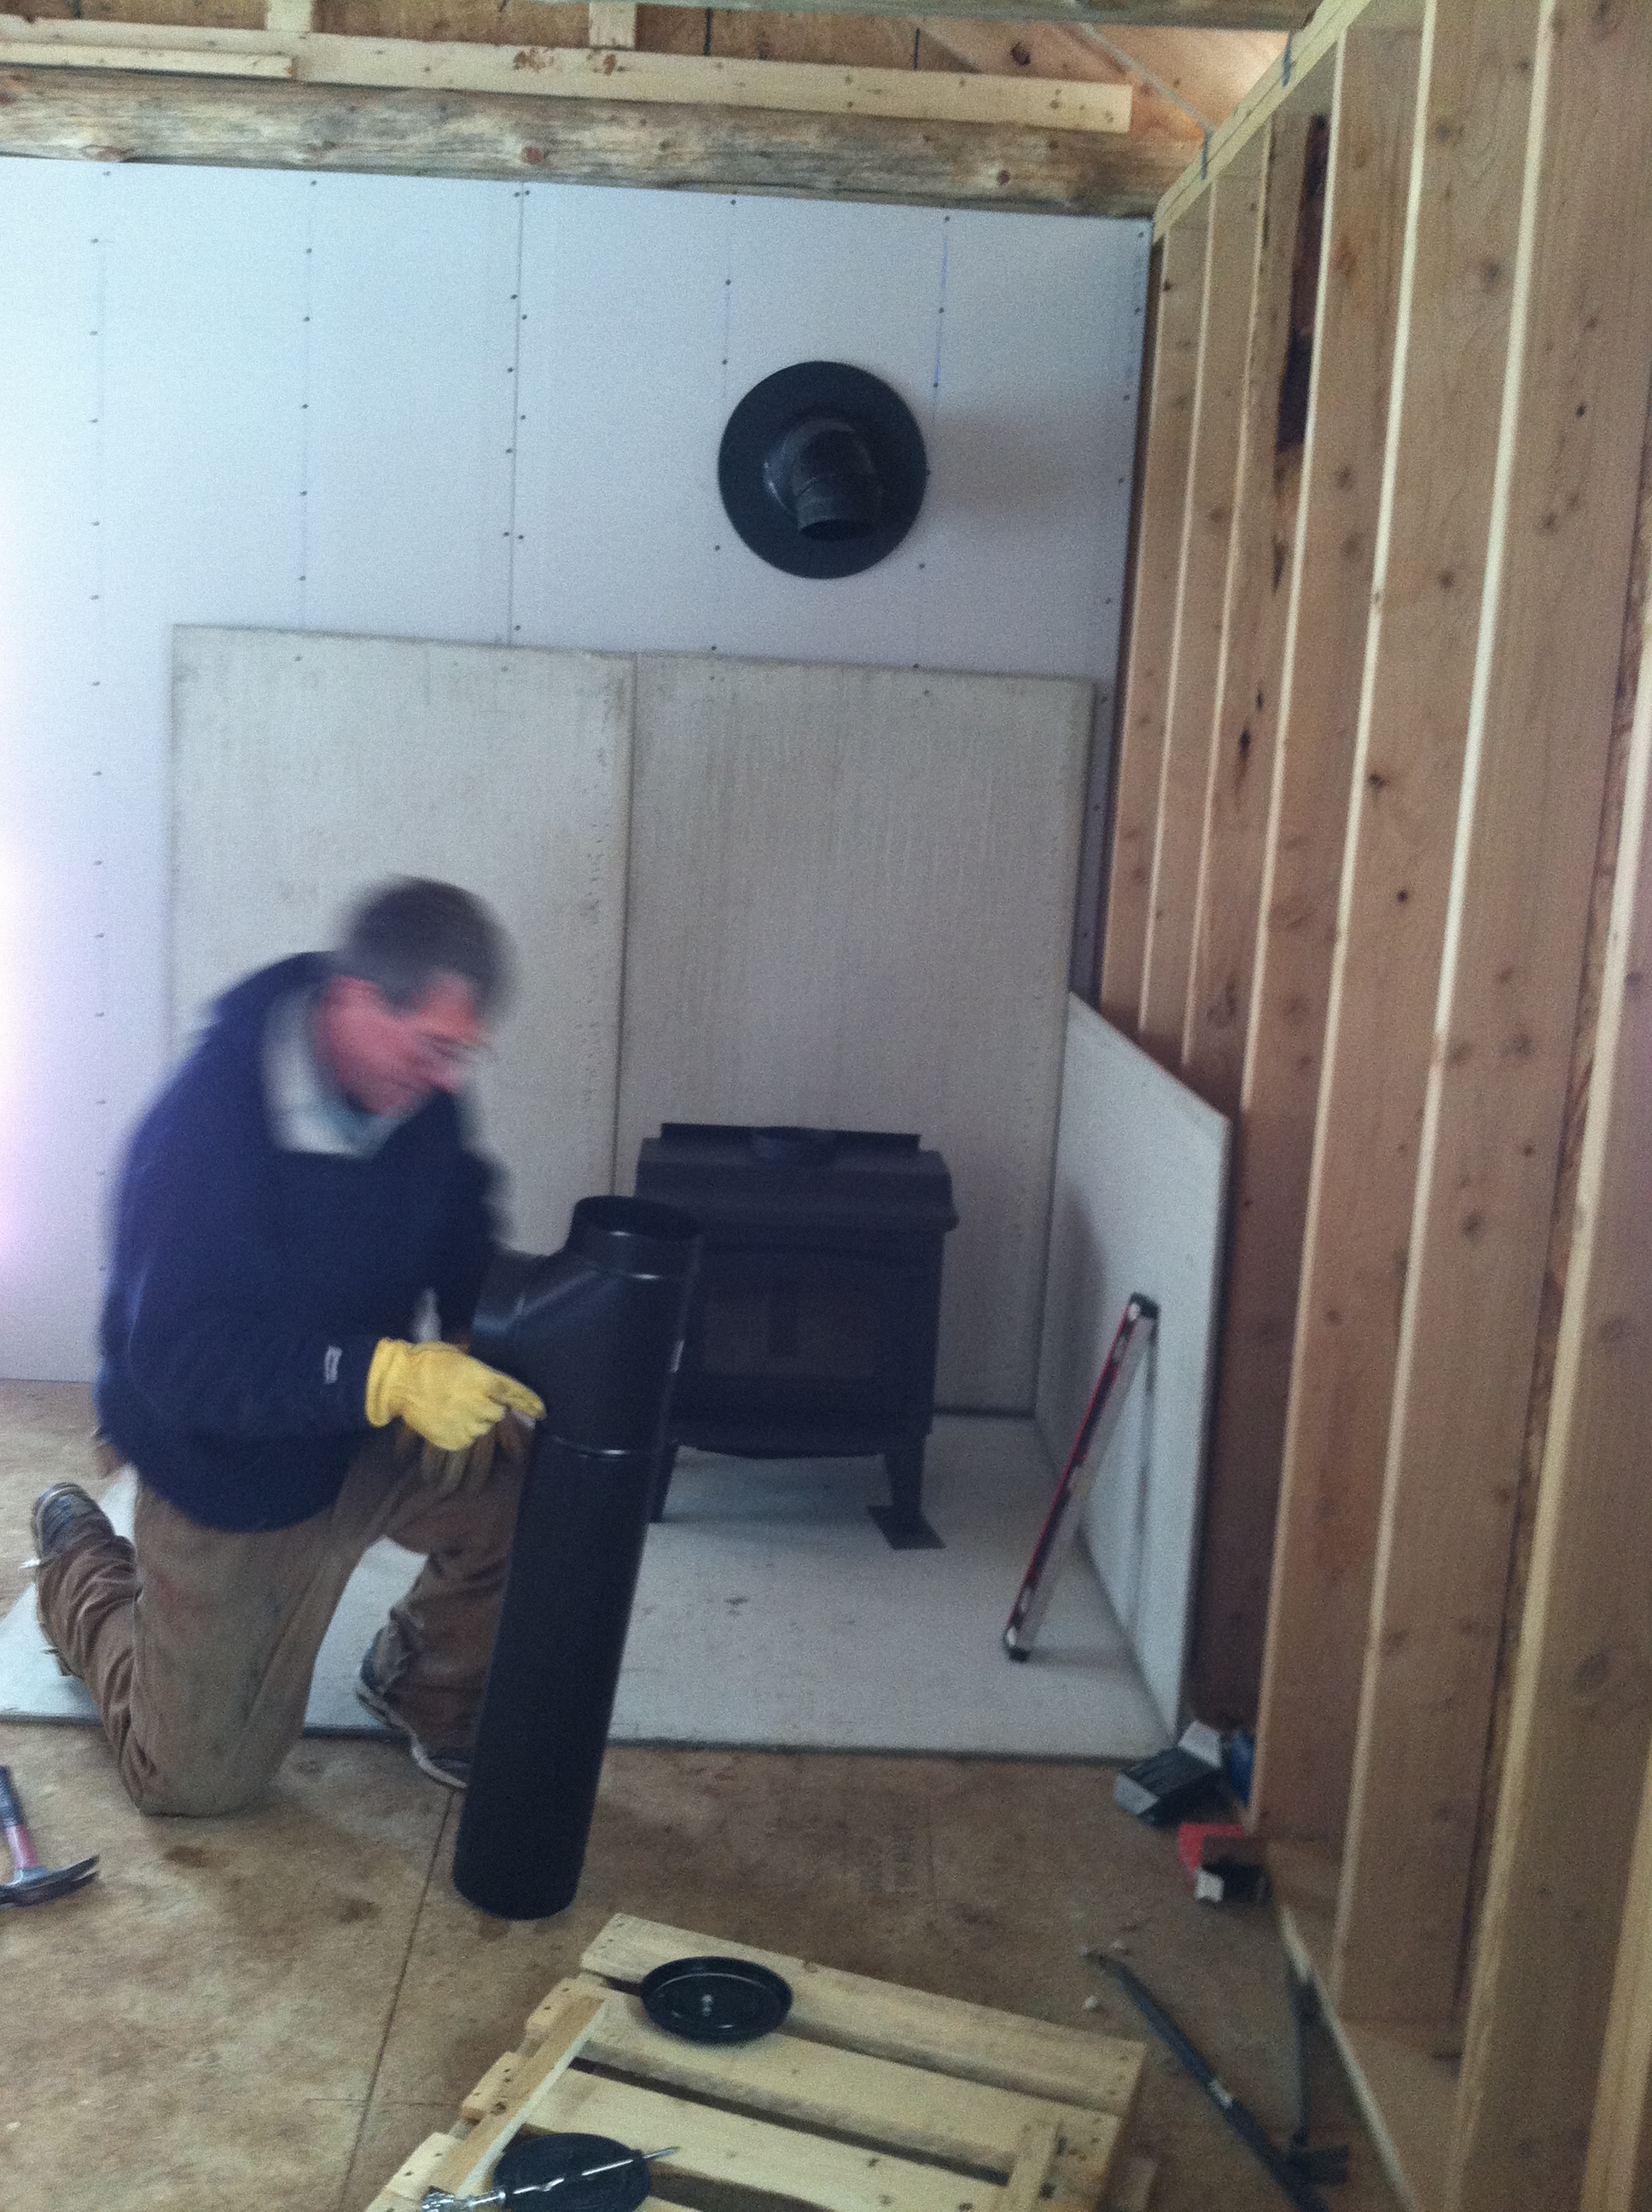
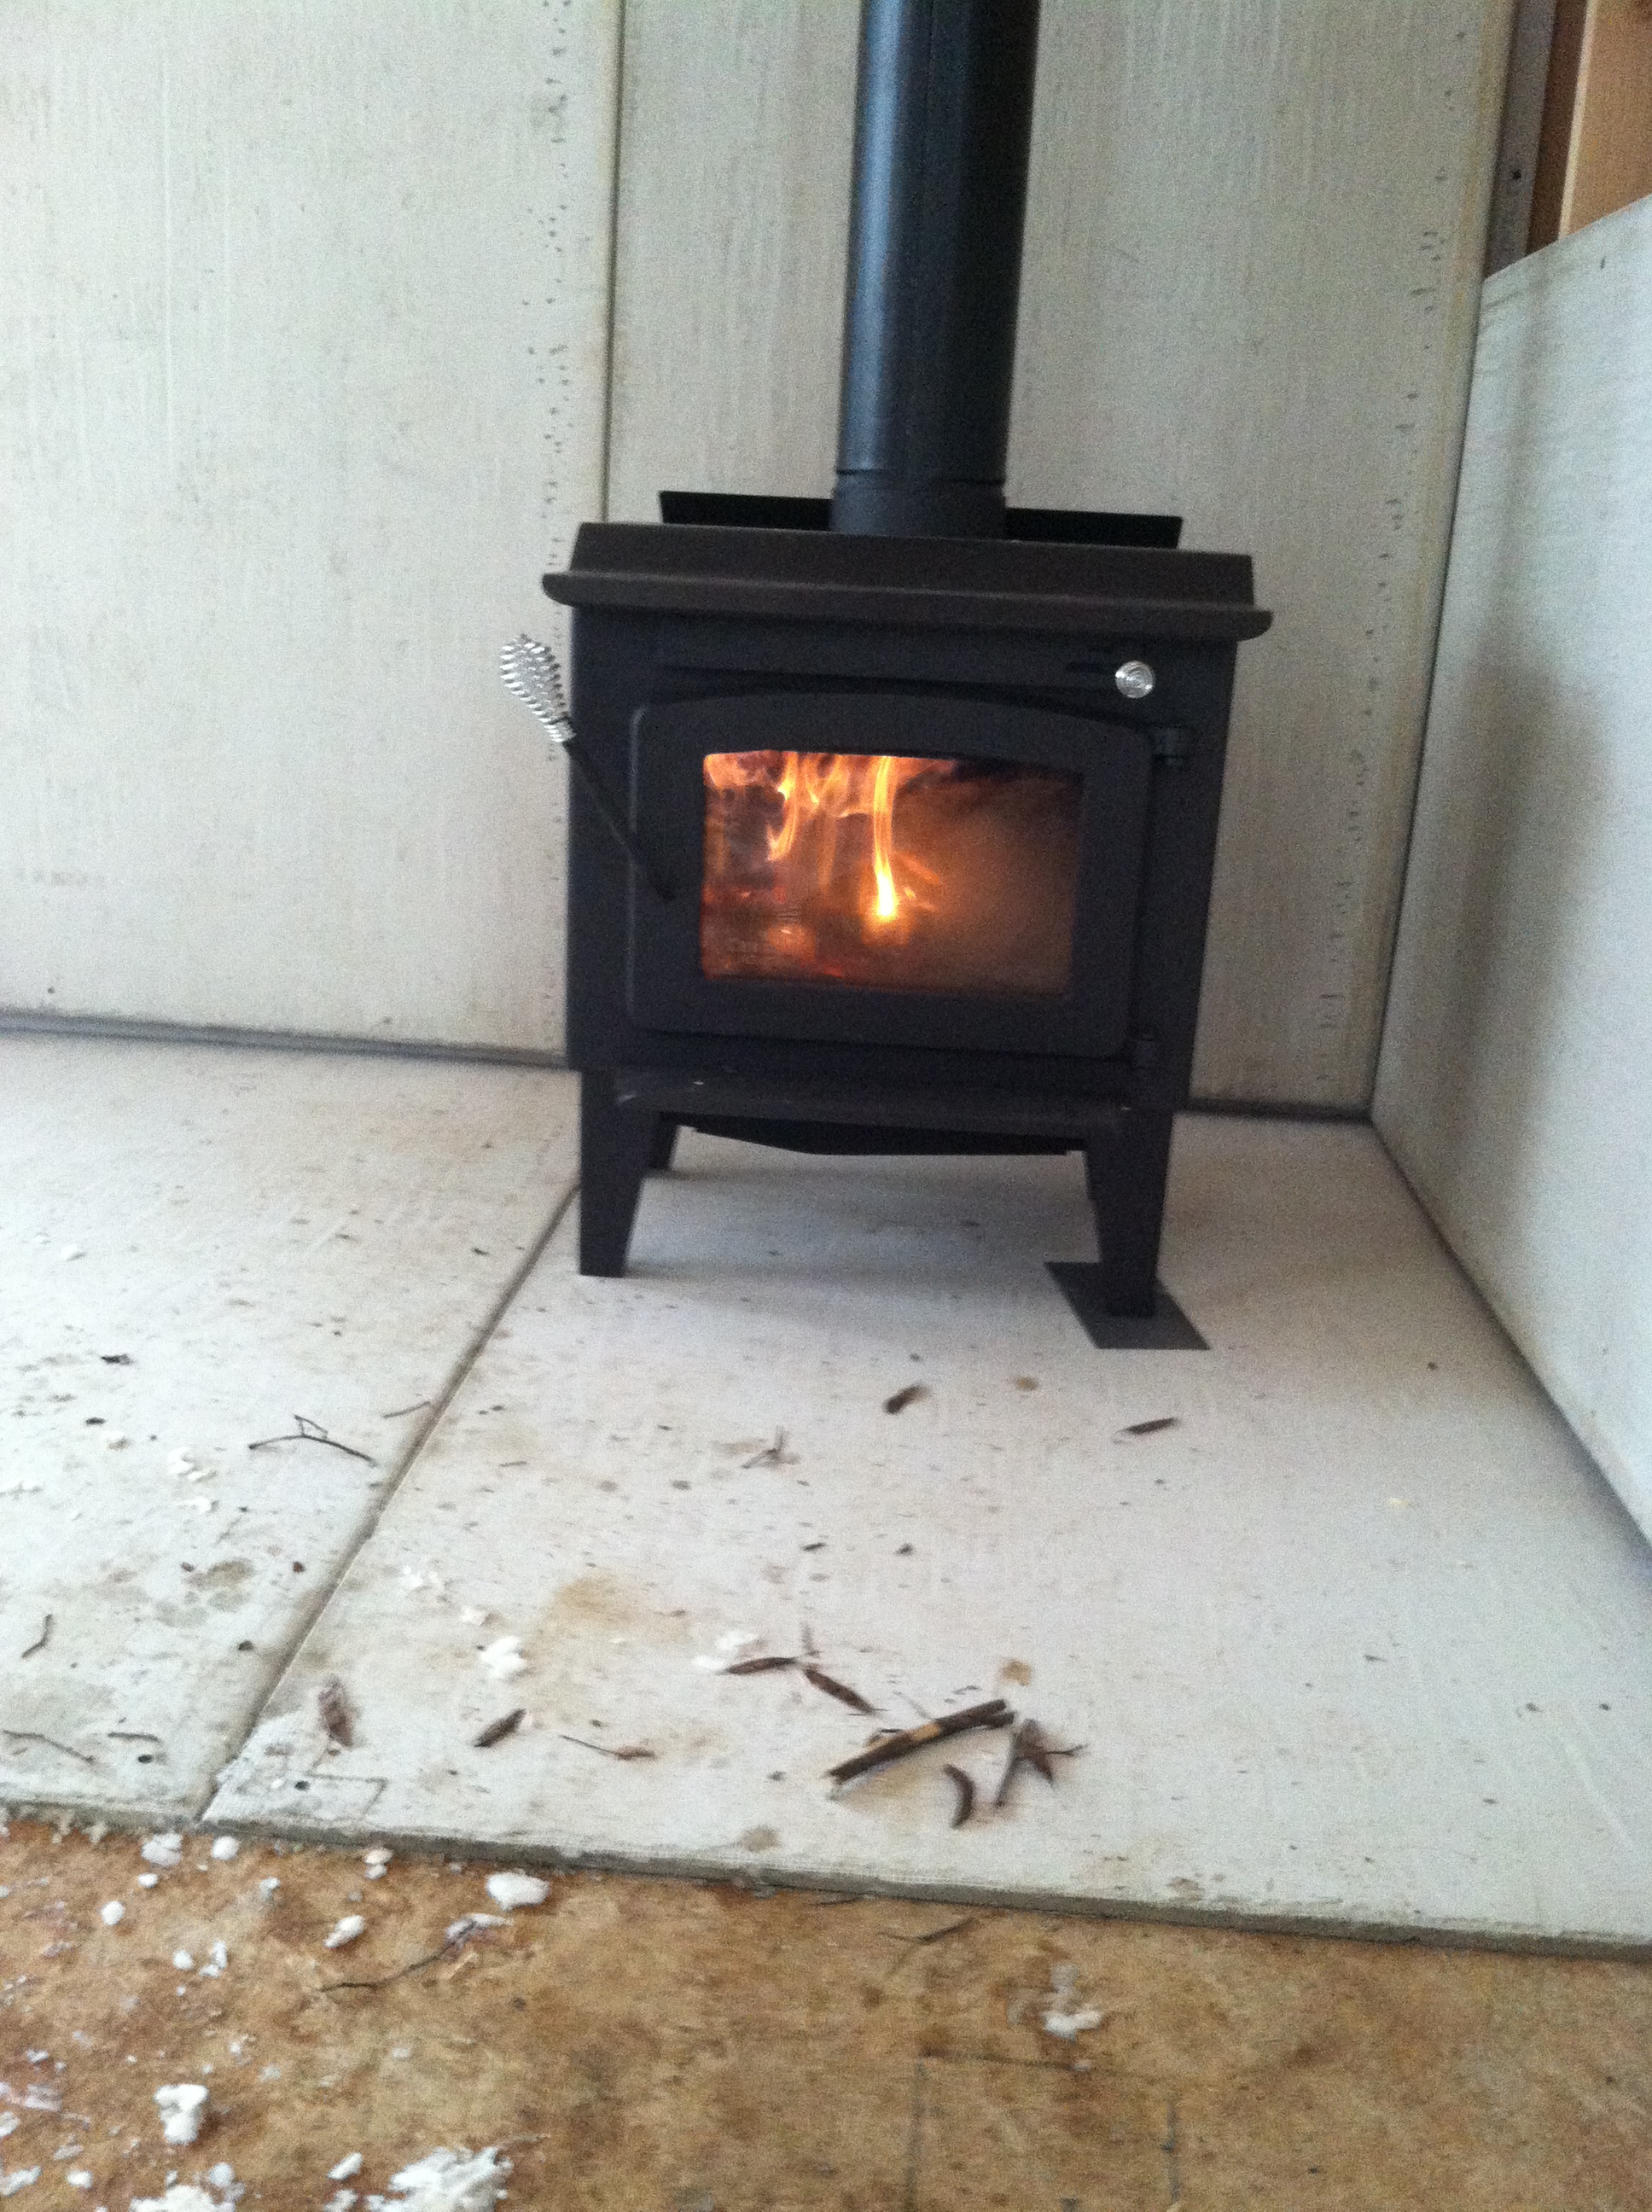
In addition, the bathroom floor will be heated. This small house is primarily heated with wood from our wood stove. But we like the idea of a nice warm bathroom floor. so we installed radiant heat in the bathroom floor.

radiant heat system in the floor

radiant heat system in the floor

I’ve worked quite a bit with tile in the past. This is the first time I have tiled a tub surround.

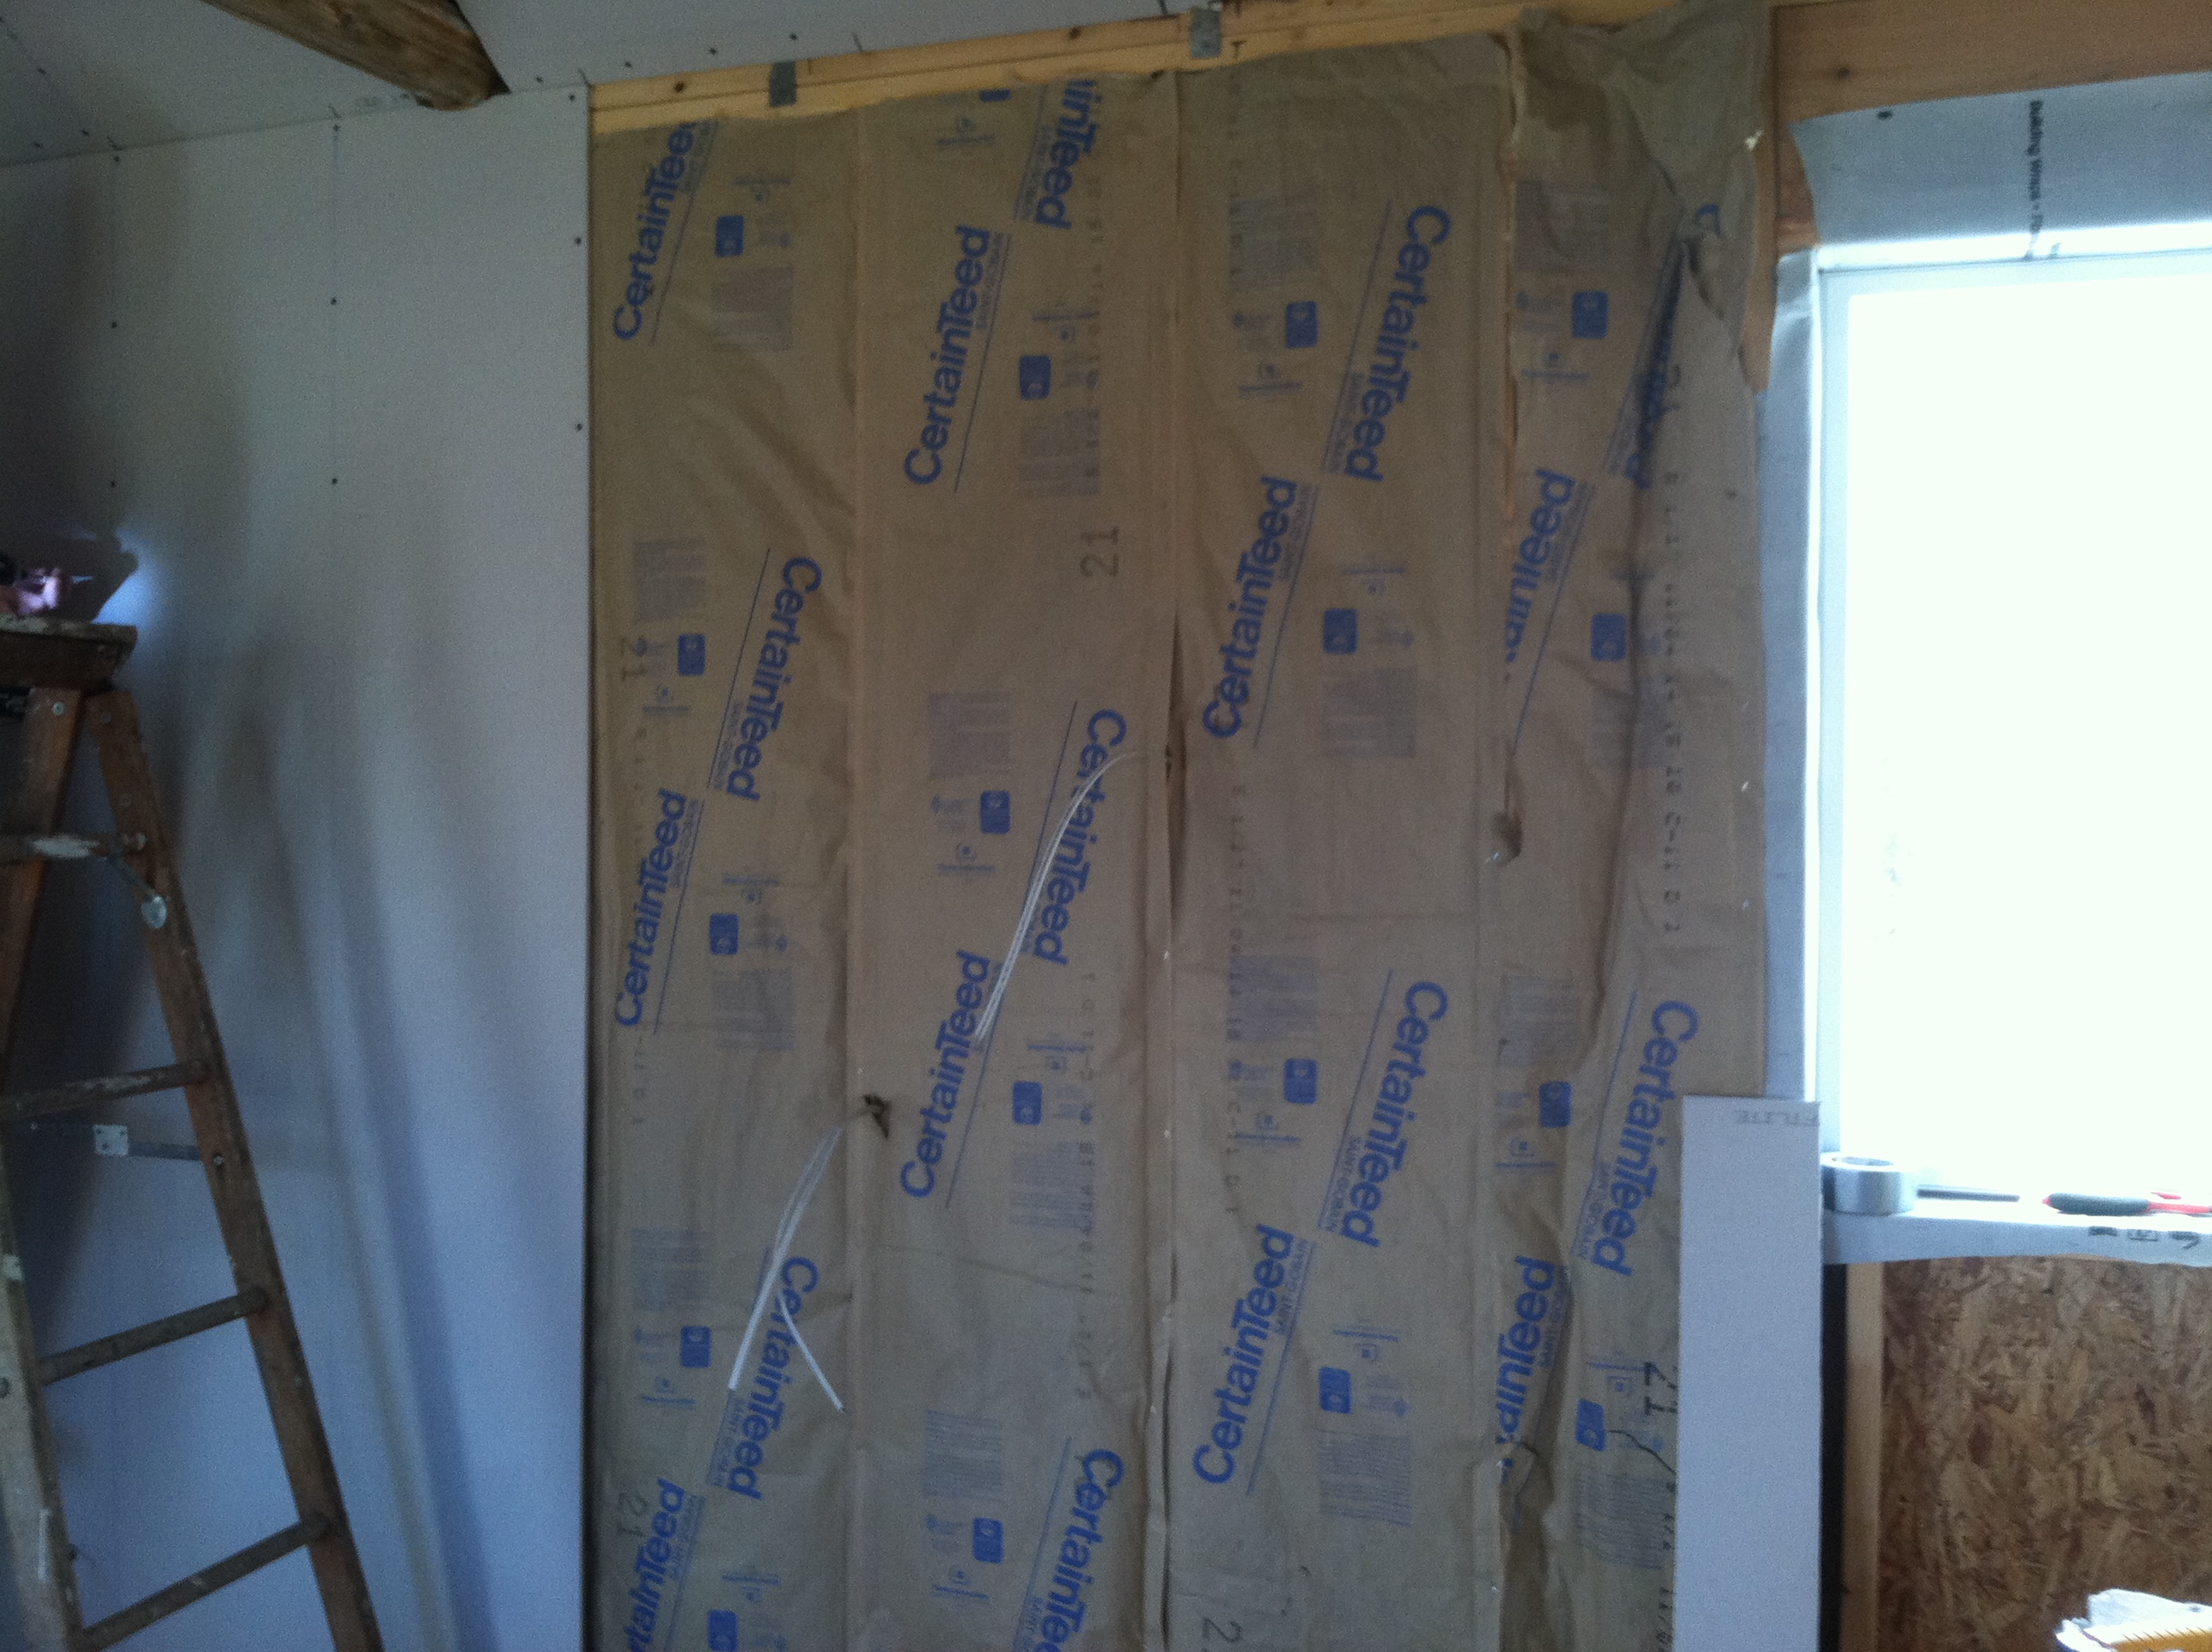
In the bathroom we used greenboard instead of regular drywall. It is a little more resistant to mold which is important in such a damp room.

green board

green board

The walls around the tub are also covered with 4 mil plastic before we installed the cement board. ‘Then we painted the cement board with redguard, which is a water resistant coating.

cement board around the tub

cement board around the tub

The idea is to keep the moisture in the tub and not let any get inside the walls.
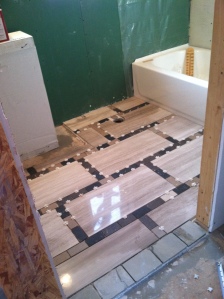
floor tile mortared

floor tile mortared

It was challenging to take these assorted tile and make it look planned. I used graph paper to plan it all out. I think the floor turned out particularly well. The large tile are polished limestone. In between them are assorted porcelain pieces. The threshold is slate. One of the complications with going to Restore and buying a mix of tiles is that the thicknesses of the tiles are all a little different. I tried to use a little more mortar where I thought it might be a trip hazard, otherwise I was willing to accept the variation as part of the pattern.

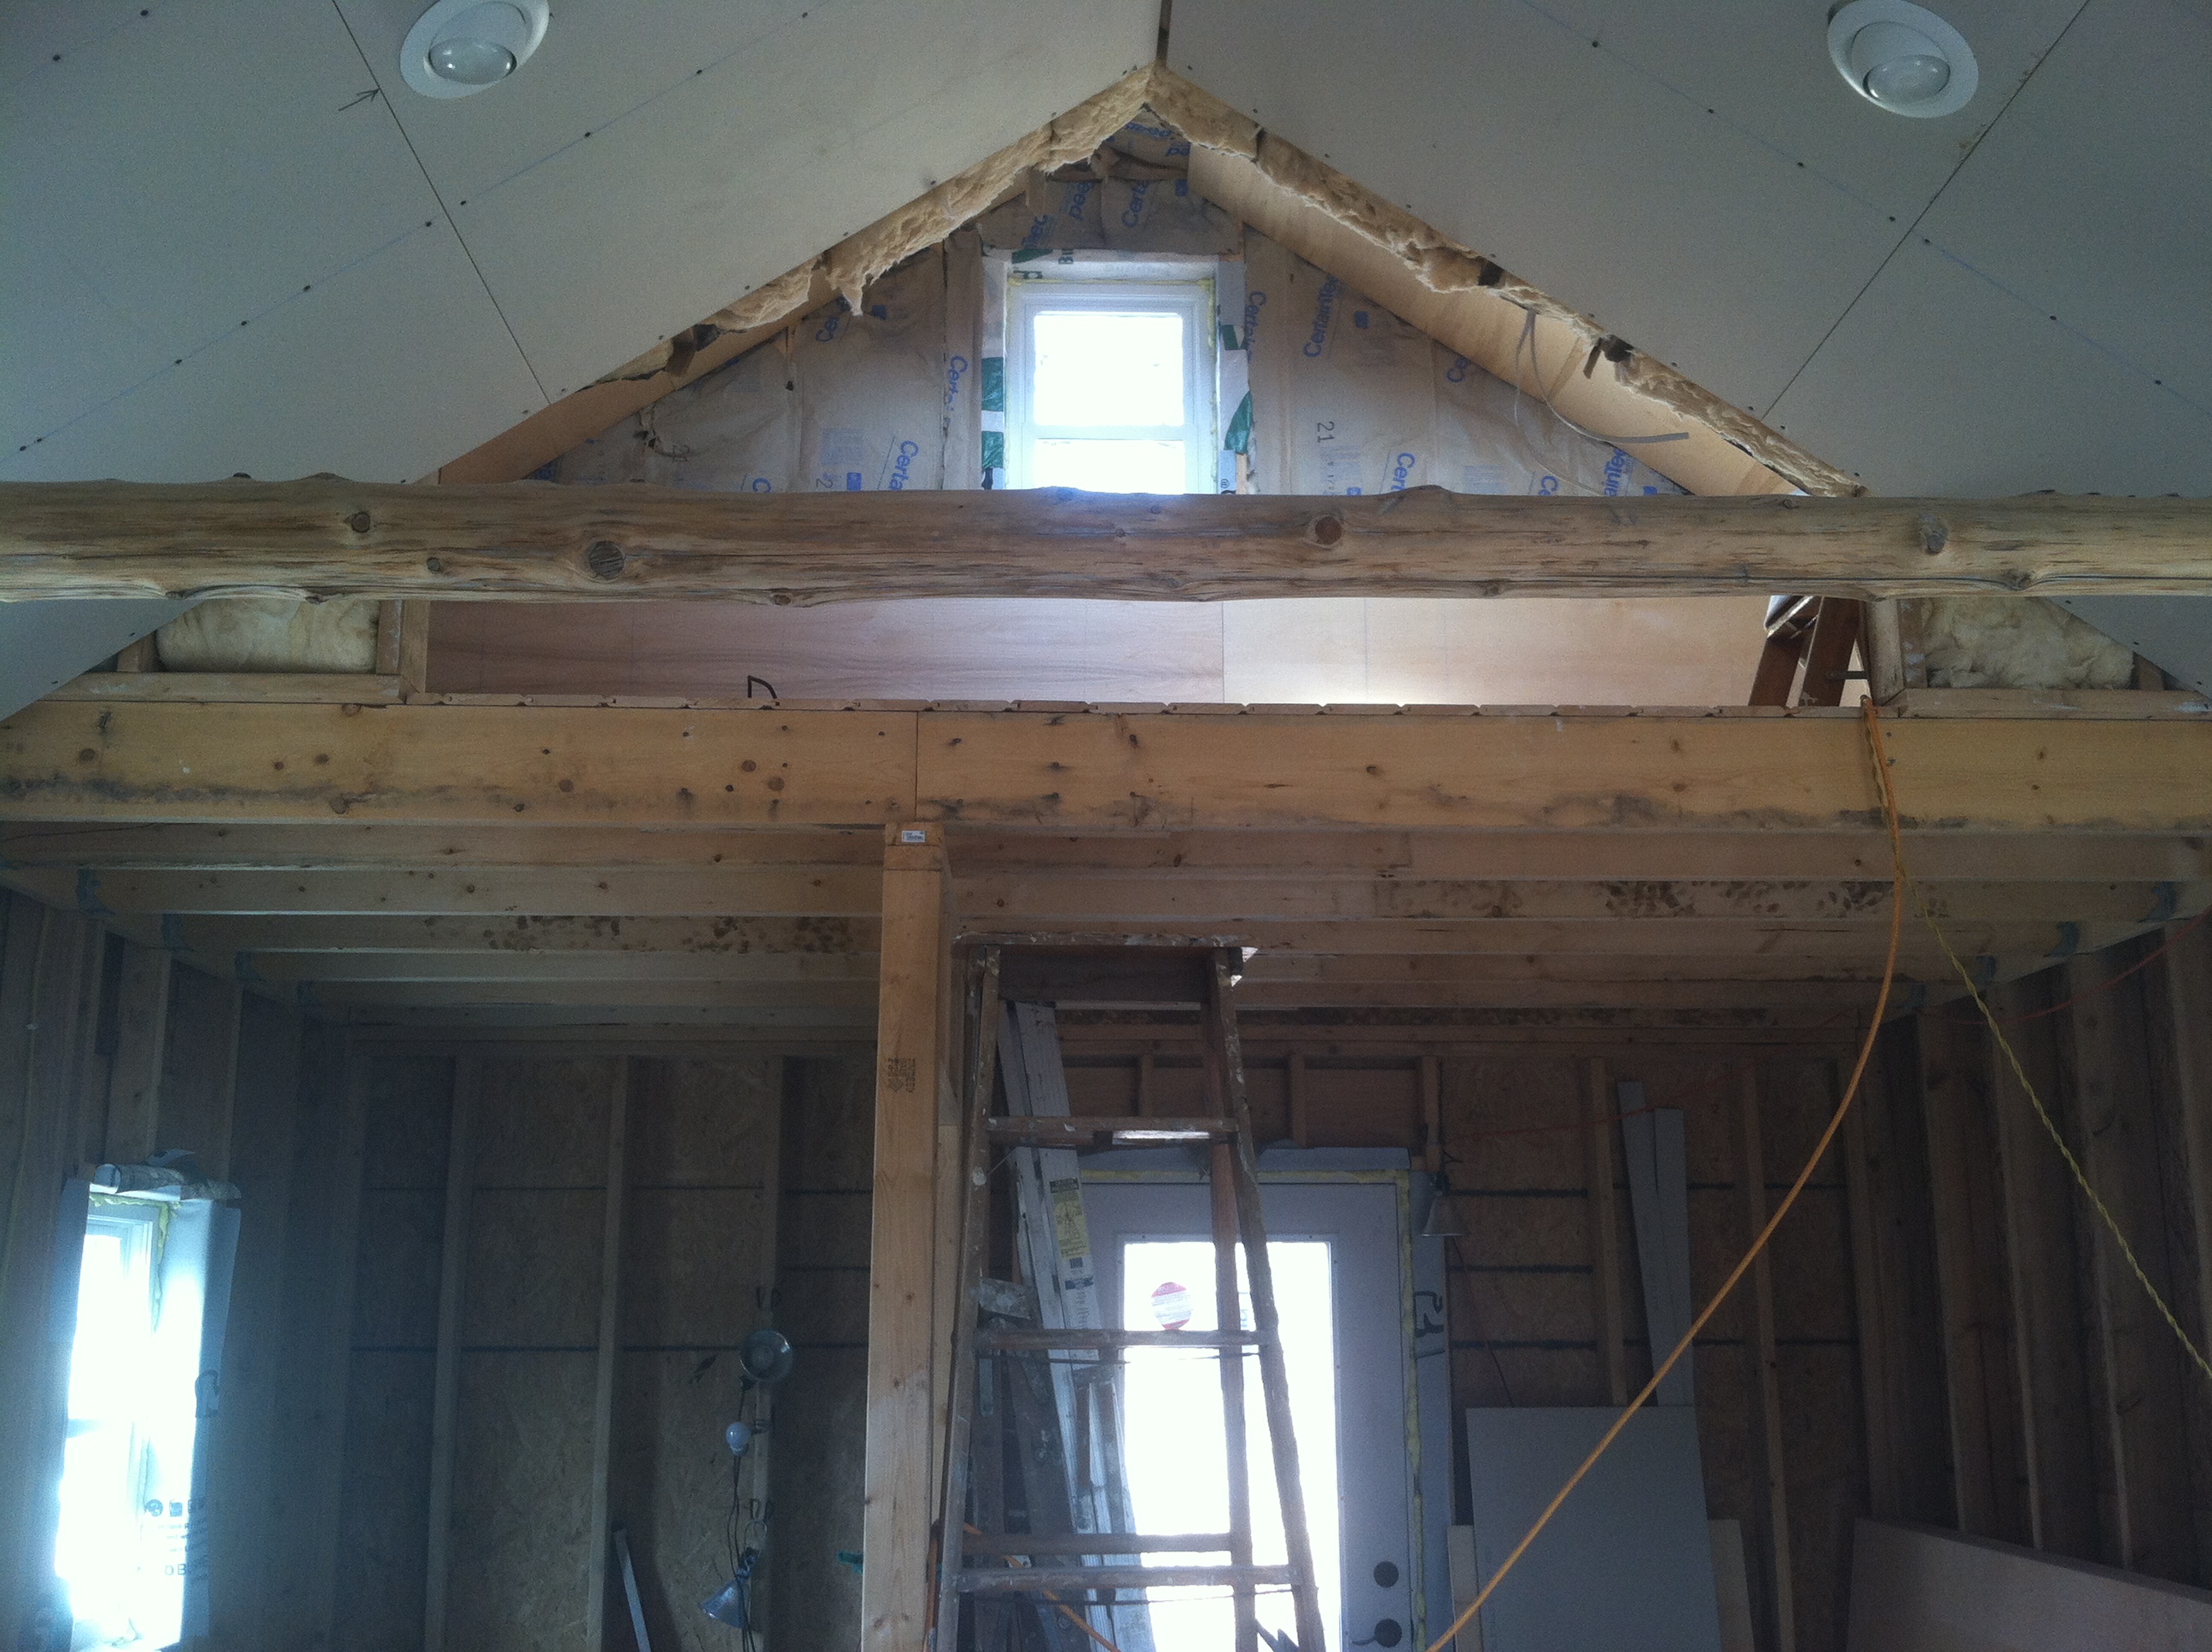
We also are building our own vanity. It is fairly simple to do.

We did shop around for a vanity but most of them are at least partially chipboard which never holds up. We did find one that was all wood and it was over $300. So we are building one ourselves. It is actually the kind of work that Larry likes best.
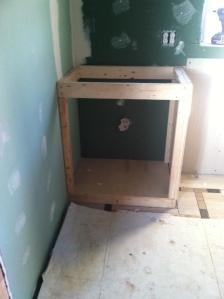
vanity frame

vanity frame

We had some birch plywood left from the loft and pieces of 2X4 for framing. We will finish the outside with 1 bys and seal with polyurethane.


Leave a comment

The loft

We are busy working on the interior. We have finished everything but the trim in the loft.

the loft

the loft

The loft will be our bedroom until we can add on the rest of the house. It is small but it can hold our queen sized bed, Larry and I have measured it more than once to make sure.

Because the ceiling is sloped, we opted to go with wood paneling so that it will hold up to being touched.  We used 1/2 birch plywood for the paneling.

The stack of plywood

The stack of plywood

In fact every surface in the loft is wood for this reason. It was easy to work with and it will finish well. We will be coating it with a polyurethane.

006

Insulation in the loft.

Insulation in the loft.

It was fun to work with the wood. The rest of the house will have drywall, which is not so fun to work with.

023

We bought a half circle window at Restore for the south facing wall.

008 009 011 013 014 015 016 019 020 014 015

The vent for the bathroom and laundry goes through the loft wall, so we had to complete that part of the plumbing before we could finish the walls.


Vent

Vent

The floors are pine carsiding. The pine is a little soft but we don’t expect heavy traffic in the loft.

Carsiding on the floors

Carsiding on the floors

We still need to install the outlets. There will be an LED light strip along the peak of the ceiling. I think it will make a cozy sleeping place.


Leave a comment

Electrical

It’s hard for me to photograph what is going on lately. We have been installing electrical and plumbing. It is mostly Larry working and me standing by to help pull wire or hold things. It is time consuming work that takes a lot of planning ahead. In the end, it is all behind the scenes so a lot of work goes into something that is mostly unseen.
We like to have lots of lighting options, in the kitchen we have recessed lights, a ceiling fan with lights, and we have outlets above each beam so we can have lights on the beams or under the cabinets later.

The recessed lights in the kitchen

The recessed lights in the kitchen

recessed lights in the kitchen

recessed lights in the kitchen

Outlets for the bath and laundry were fairly straight forward. But in the kitchen it is complicated by the fact that the eventual configuration of this room will be different from it will be at first. At first the kitchen will also be our living space, so we are compacting all the appliances and counter space on one wall. But later we will have both walls for the appliances and counter. So outlet heights and locations need to work for both configurations.  I don’t think we’ve missed anything, but time will tell.

049

Wires for future outlets

051 016 017 019 020

We also installed outside lighting, in the eaves and at the back door. We are including switches for the light at the shed and a switch for the lights in the screen house, which we have not built yet.

Eave lights

Eave lights

In fact, many of the switches have planning for future lights and locations that don’t currently exist. We are putting lights on three way switches so that when we build on, lights can be turned on from the other end of the house.

We also ran a wire for a future doorbell at the back door. It’s not needed now, if someone is at the back door now, we are going to know it…right now the house is basically just one room. But when the house gets larger we will want a doorbell.

Larry is working on the breaker box, thankfully, all the wires are labelled.

wires in the basement

wires in the basement

Hopefully we have planned well enough.


Leave a comment

It’s all about air flow

Before I talk about the house I want to talk about mud. The area around the house was all churned up when we put in the foundation, and we won’t plant shrubs or grass until the house is done. So now, we have a lot of mud. It gets in everything. For thanksgiving, I bought a boot scraper to try and get a grip on some of the mud..I recommend this for anyone living in a construction zone.

Boot scraper

Larry and I have been working on soffits, electrical and insulation.

Our soffits are vented to allow air to flow through them, along the roof to the ridge vent. This helps keep moisture from developing under the roof and it allows the roof to cool off in hot weather.

We also decided to install lighting in the soffits because it is good general around the house lighting that is aimed downward instead of at our fabulous night sky.

003 Soffits

So, installing soffits involved electrical and venting.

We had a couple good days for painting and we were able to prime the wood trim, caulk, and our granddaughter painted a part of a wall to see what color the house will be.

The trim will stay white and the walls will be Sherwin Williams “Barn red”.

008

Prime, caulk and paint

Prime, caulk and paint

With that, we think we will have to wait until spring to work more on the outside. Today, our attention turned to the inside.

Larry is running the electrical wire for lighting in the ceiling and I am installing the ceiling insulation.

We plan to put recessed lights in the ceiling and install a ceiling fan. In the loft, we are installing LED light strips along the ceiling ridge. You can see the wires hanging down where the lights will be installed.

016 015 014 Insulation and wiring

We used 2X12 rafters so we could install R-38 insulation in the ceiling. I found fiberglass batts that are 10 1/4 inch thick but still R-38. We need the difference in thickness for that air flow between the soffit and the ridge vent.

I am not quite half done with the ceiling insulation, but working today with the wood stove burning we could tell the difference in how warm the house was. I am really excited about being able to move in and relax around the wood fire and maybe reading a good book instead of working.


1 Comment

Finishing

Larry and I have spent the last couple days working on the exterior trim. Trim takes a long time compared to sheeting and roofing and framing.

Installing trim

Installing trim

It made me think about the challenges of finishing projects. We tend to work on projects until they become workable or comfortable which is usually somewhat short of finished. It is usually somewhat short of trim. I know from experience that Larry and I are not the only ones who find finishing challenging. People live years in rooms without trim.

All trimmed out

All trimmed out

I am not sure what makes it hard. I know that when Larry and I get to the “livable” stage of a project we tend to want to take a break, to live in the space. And then when your furniture and stuff are in a space it becomes harder to go back to work on the project.

But that isn’t the only reason. As you approach the end of the project some of the details become more difficult to solve. The walls that aren’t quite square are a lot harder to trim. The mistakes in hanging the drywall become headaches. It’s easier to take some time and enjoy the “livability” of the space than to deal with all the little details that go into finishing.

Someone once told me that employers hire college graduates because they know that they can finish things. We all know that you don’t learn how to do a job in college. But you do learn to hang in there and finish stuff, to deal with all the pesky details that go into getting a degree.

So, even though we are a long ways from finishing the house, I’ve been thinking about it lately. The exterior trim will be in place in the next couple days. It will still need caulk and primer and paint. I’m not sure the weather will hold for us to finish that but I know from experience that even though it takes us a while, Larry and I do know how to finish projects.

017 012


Leave a comment

A good day to install a wood stove

The house is not totally sealed yet, But the roof and siding is on, the windows and doors are installed. We still need to install trim and doorknobs and soffits.

Doors and windows are installed

Doors and windows are installed

Today winter arrived.

View  from back door

View from back door

036 039

It’s pretty uncomfortable working outside so we decided to install the wood stove.

First the chimney. We are going out the south wall because when we add on to the house that wall will go away. And the stove will move to a new location.

Chimney going out the south wall

Chimney going out the south wall

It is a small stove, because the house is very small.

our little wood stove

our little wood stove

Larry is working on the pipe..

installing the stove pipe

installing the stove pipe

You can see in the photo above that we installed Durock cement board on the walls around the stove. We have limited space and this allowed us to place the stove a little closer to the walls. It is mounted an inch off the wall to allow air flow.

all ready

all ready

Everything’s installed. So we built the first fire.

049 048

So, it’s snowy outside but we are one step closer to being ready to move into the house. And as we switch to working on the inside we will have a nice cozy fire to keep us warm.

051


Leave a comment

Help arrives!

Larry and I have been able to do the framing ourselves. But working with the sheathing panels, siding panels and the roofing was going to be very challenging.
So we enlisted some volunteers to help us do this heavy work. His brother and his nephew arrived this week and now things are really moving along.

Sheathing the walls

Sheathing the walls

002

They helped side the temporary wall on the south side of the house.

south wall sided

south wall sided

We got all the house wrap on. We also built the eaves and rakes.

003

The roofs sheathed.This photo shows why we needed help. Larry and I just could not lift the sheathing and siding up high by ourselves.

sheathing

sheathing

starting to roof

starting to roof

roofing

roofing

It was hot enough yesterday that we were in shorts and t-shirts.

Larry and I have gotten half of the windows installed. They need to be installed before we hang siding. I’m not happy with the siding. It is hard to work with and not quite what I was hoping for. But it will do until we are ready to build the second part of the house and hang new siding.

some windows are in

some windows are in

It’s been amazing how much we have been able to accomplish in this week with two extra helpers. The weather turned cold today reminding us that we don’t have unlimited time to get the house enclosed.

Today we expect to finish the roof. I think we will be enclosed before the end of the week.